
Ever since my grandson was about 3 we have made gingerbread houses together at Christmas. At the age of 3 he used to eat large amounts of the uncooked dough before I had a chance to bake it. He also used to lean on the roof not realising how delicate it was. We would still have a great deal of fun together constructing and decorating these.
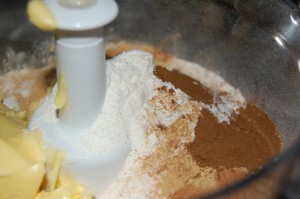
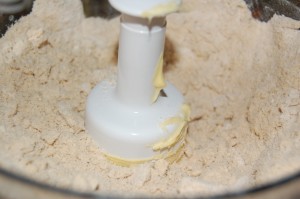
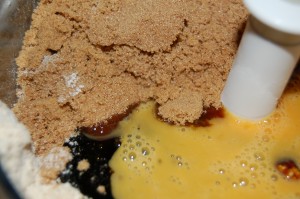
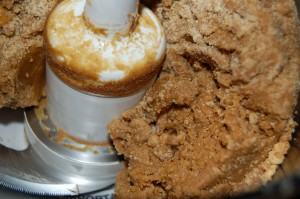
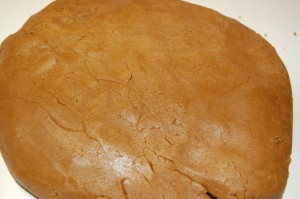
The dry ingredients and butter in the processor and mix until like breadcrumbs. Add the wet ingredients and mix again until it comes together. Remove and knead until smooth, then cover in plastic wrap and refrigerate before rolling out and then cutting out shapes.

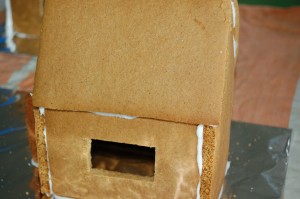
Now that he is 8 things have changed a little. No longer does he eat the raw dough, but he can’t wait to try the cooked pieces. I have to rescue them so that we have sufficient to build the house. Because I hadn’t cut out the windows before baking, he was able to “scoff” these down much to the envy of everyone else in the house.

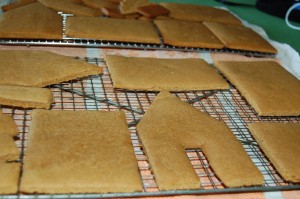
Whilst the pieces of the house were on the cooling racks prior to building, I can tell you the aroma coming from them is mouth watering.
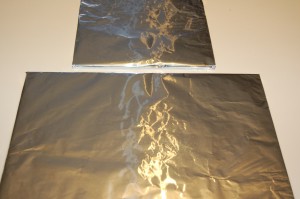
Either purchase cake boards, or as I did here cover some thin timber with foil and use cellotape to hold it at the back.
Having glued (with royal icing) the pieces together we had to decide how we were going to decorate them. We found the Multix Piping Bags excellent for this purpose and these are available from most supermarkets. You can also use these disposable piping bagsfrom Amazon.
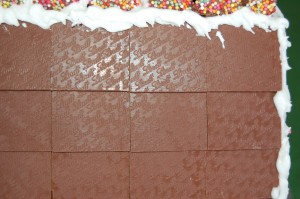
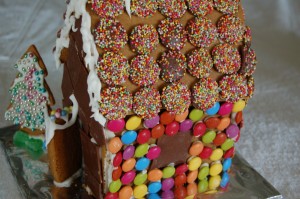
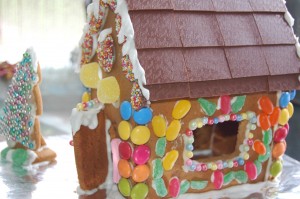
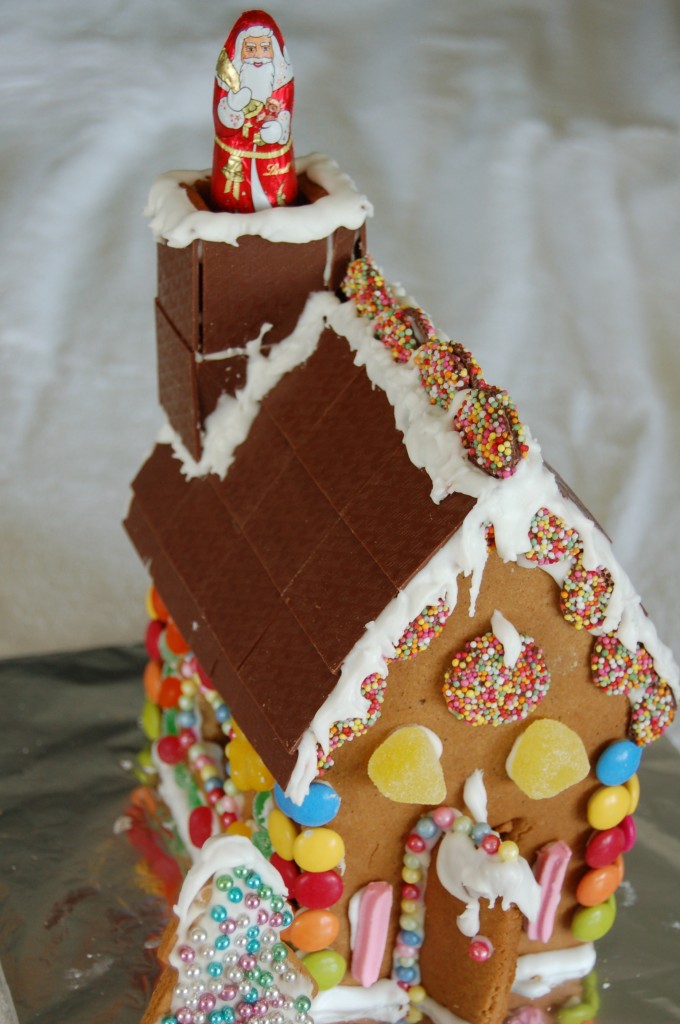
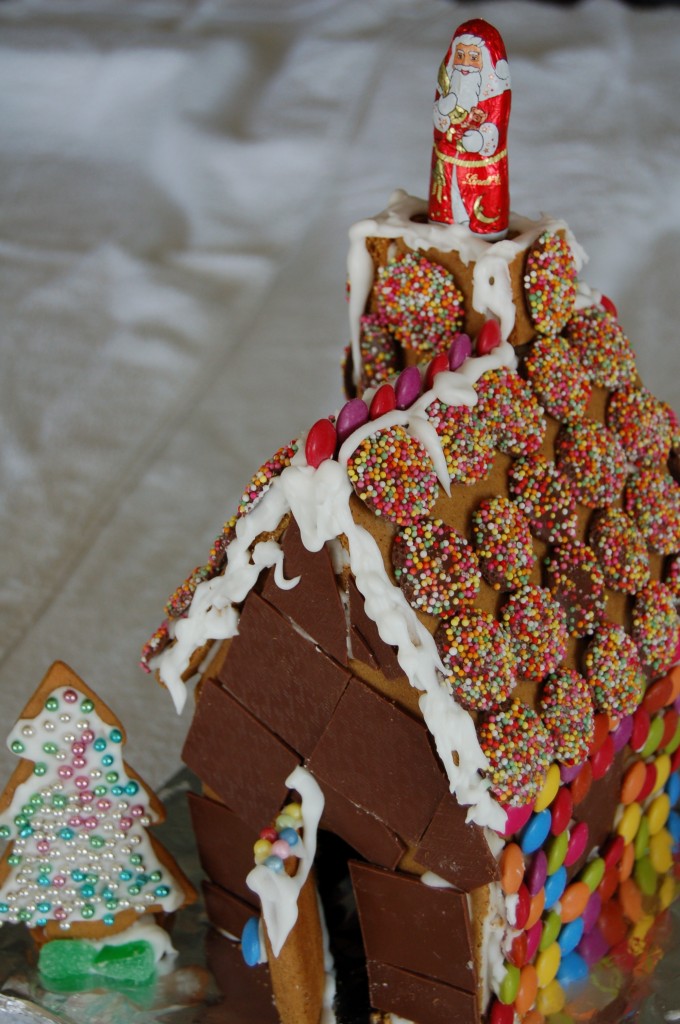
I opted for Lindt Swiss Thins – Extra Finos for my roof, and my grandson being a lover of “freckles” had to use these as much as he could.


I found a new item from my pantry, Queen Soft Sugar Pearls Rainbow which I used around the windows and door.
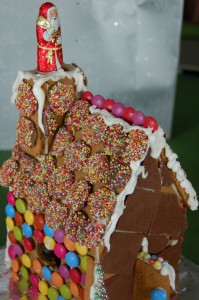
My grandson covered the sides of his house with smarties, and the front using the Lindt Swiss Thins.


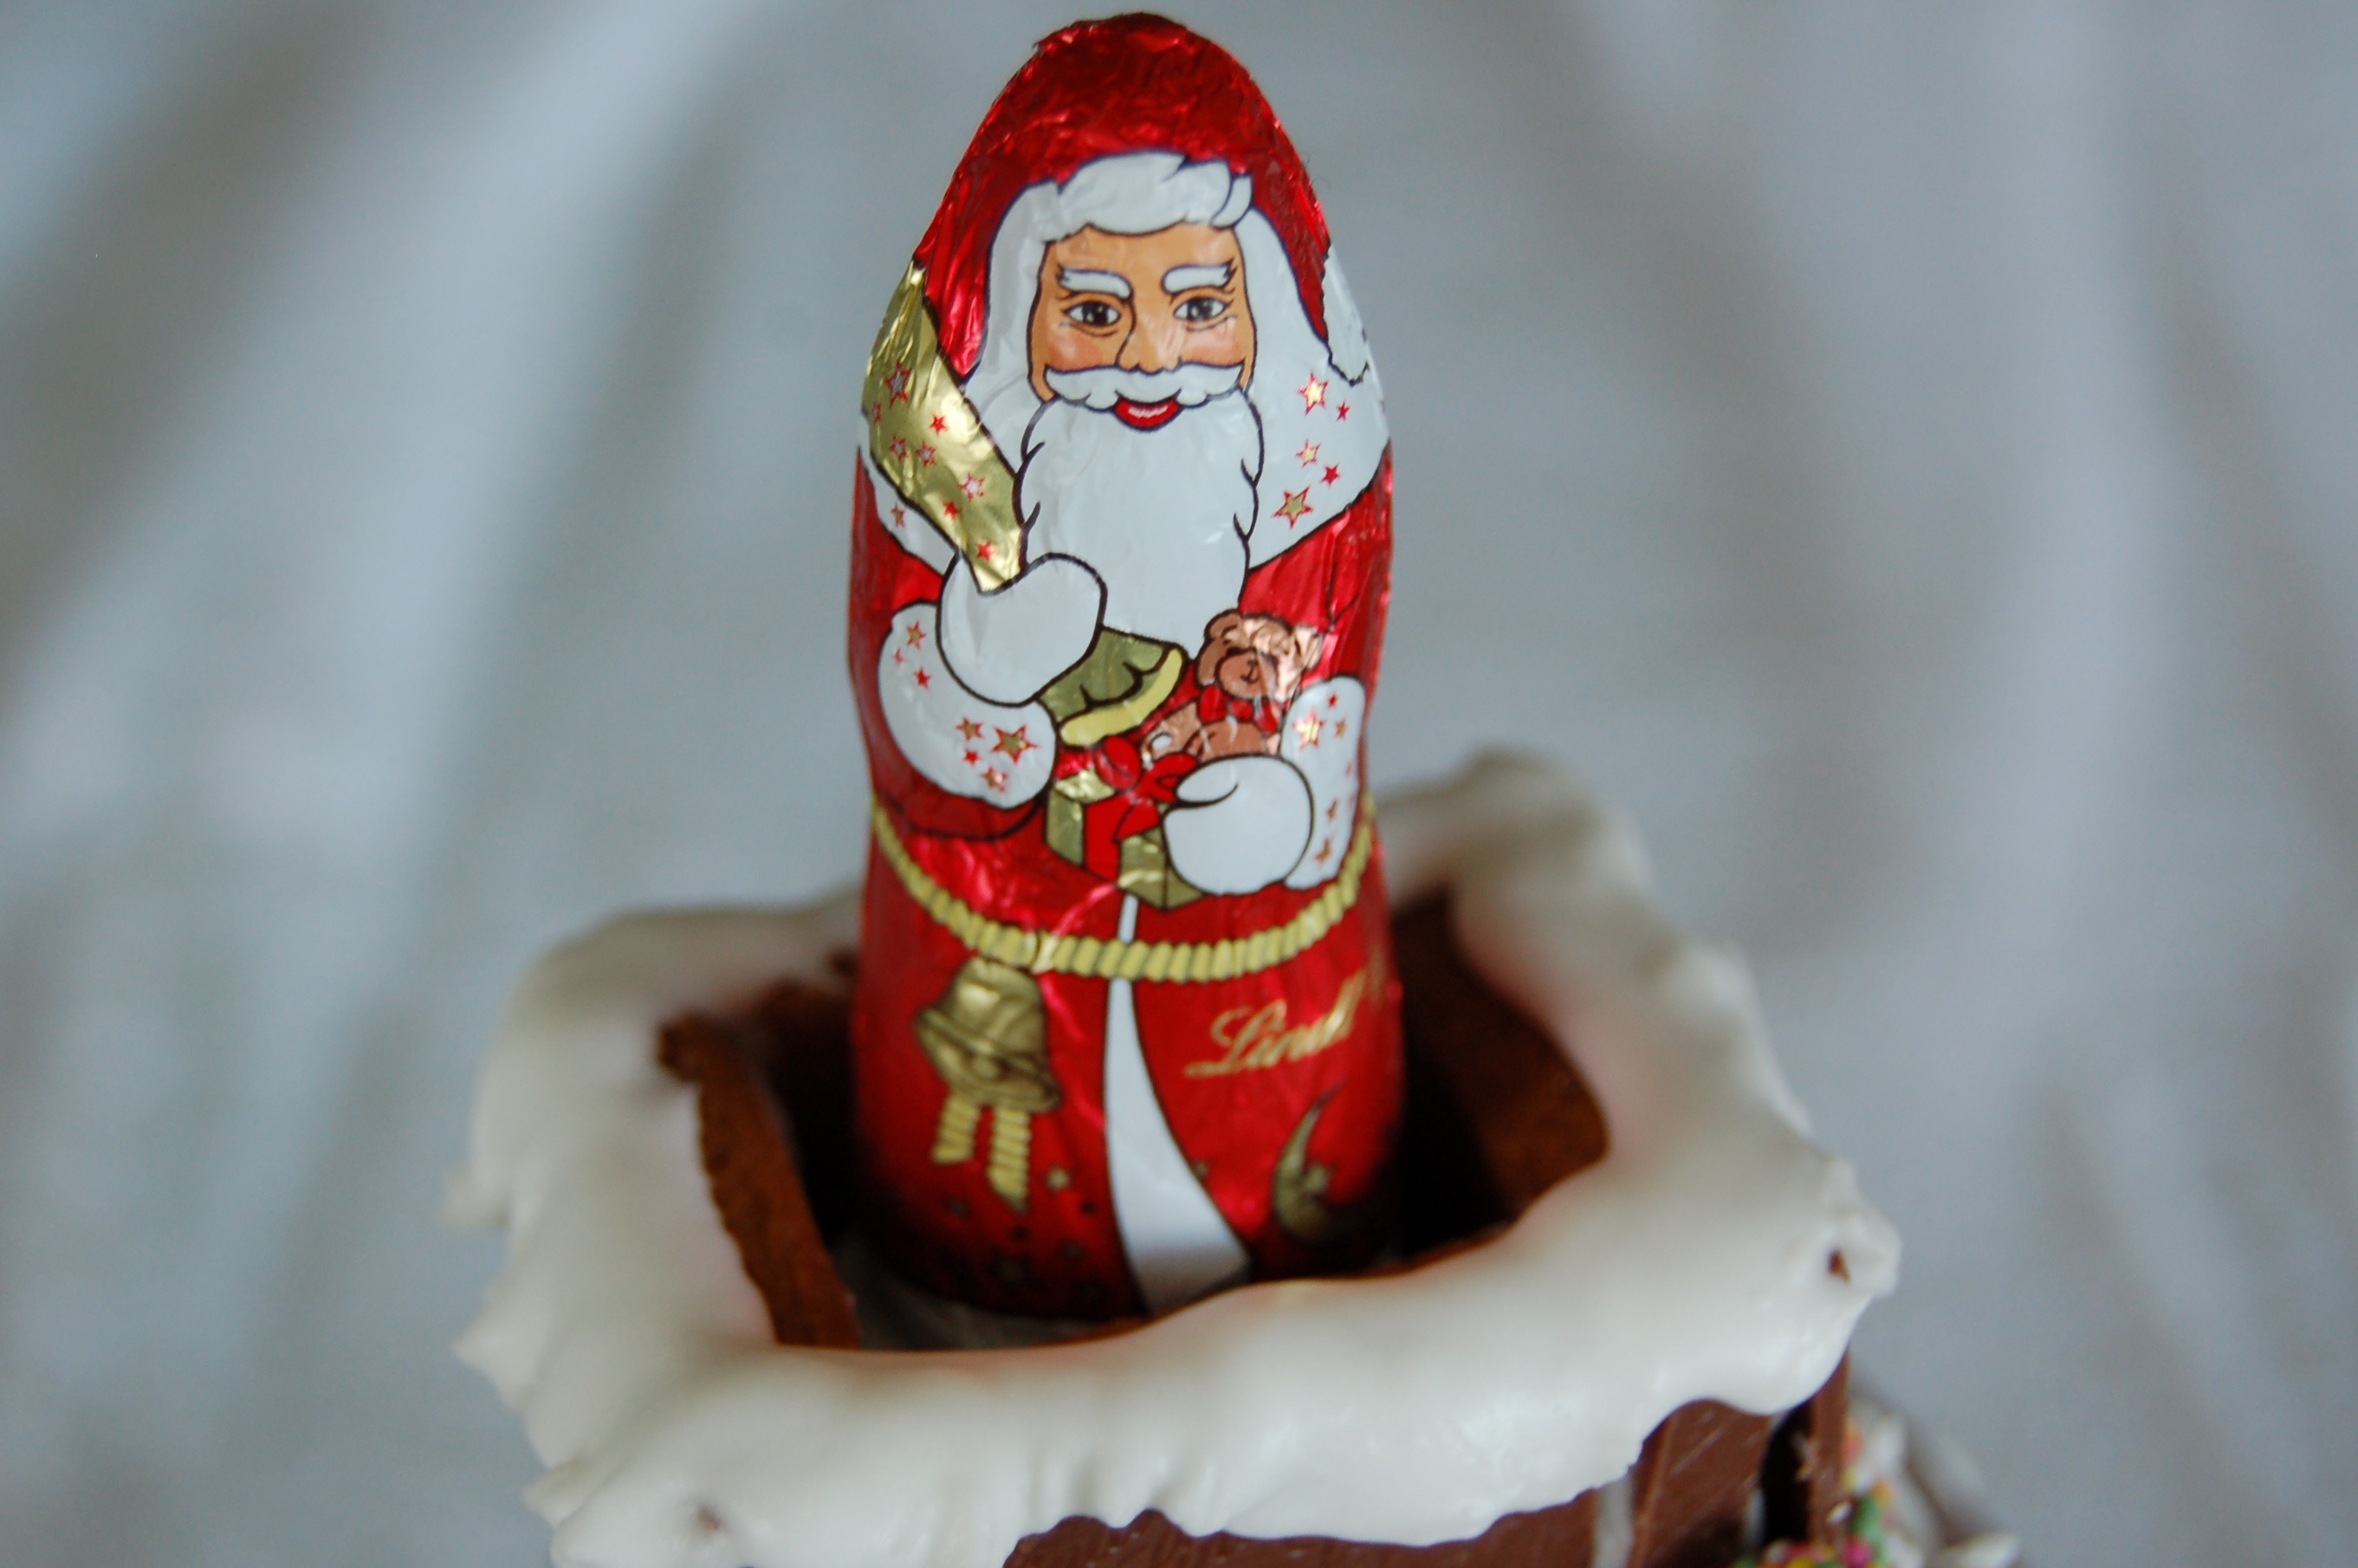
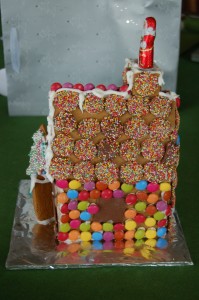
We needed a Santa in the chimney but time was running out, so again we used a Lindt Chocolate Santa rather than try to make one. I think he sits very well in both chimneys.
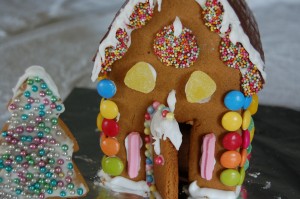
I decided that I needed more lollies on my house and went and bought some jelly beans, but because I only used a few the remainder are tempting us all to finish them off.
We both had a great deal of fun building these two houses, and just as well I had two packs of freckles as my grandson did the old trick “one for me, one for the house”.
He can’t wait to finally get into “The House That Kelly Built”, the sooner the better.
Hope you have as much fun building this as we did.
Send me pictures of what you built??

- 4-1/2 cups (675g) self-raising flour
- 3 teaspoons ground ginger
- 2 teaspoons ground cinnamon
- 1-1/2 teaspoons ground cloves
- 1 teaspoon ground nutmeg
- 185g butter, chopped
- 1 cup (220g) firmly packed dark brown sugar (I used Billingtons light Muscovado)
- 1/2 cup (180g) treacle
- 2 eggs, beaten lightly
- Square or round foil covered board
- Assorted Lollies for decorating
- Royal Icing
- 2 egg whites
- 3 cups (480g) pure icing sugar
- Process flour, spices and butter until mixture is crumbly (you may have to process in two batches).
- Add sugar, treacle and enough egg for mixture to just combine. (Mine used all the eggs).
- Turn dough onto floured surface, knead until smooth.
- Cover, refrigerate 1 hour.
- Cut paper patterns for gingerbread house: two 12cm x 19cm rectangles for the roof, two
- 10.5cm x 16cm rectangles for the side walls; and two 16cm x 18cm rectangles for the front and back walls. Trim front and back walls to form two 11cm high gables.
- Preheat oven to moderate 180˚C/160˚C (fan forced).
- Roll dough between sheets of baking paper until 5mm thick.
- Peel away top paper and use patterns to cut out shapes from dough.
- Pull away excess dough.
- Slide baking paper with shapes on to oven trays.
- Bake uncovered for about 12 minutes or until shapes are just firm (they become crisp after they cool).
- Re-roll dough scraps into one 5mm thick piece.
- Cut out tree and chimney.
- While shapes are still warm and soft, you can cut out windows from the side walls.
- Trim all pieces to straighten sides.
- Transfer all shapes onto wire cooling rack.
- Beat egg whites in small bowl with electric mixer or by hand until frothy.
- Gradually beat in sifted icing sugar.
- Cover icing with damp cloth or plastic wrap while not using.
- Assemble house, securing roof and walls together with icing.
- If possible stand house several hours of overnight once built to allow to dry before decorating.
- Decorate house with lollies, securing with icing.
- Secure tree to board using icing and anything else you want to include.
- You can alter the size of your house from those listed above by drawing different size pieces.
- We made our two houses from this one mix but they were not the size listed above.

